
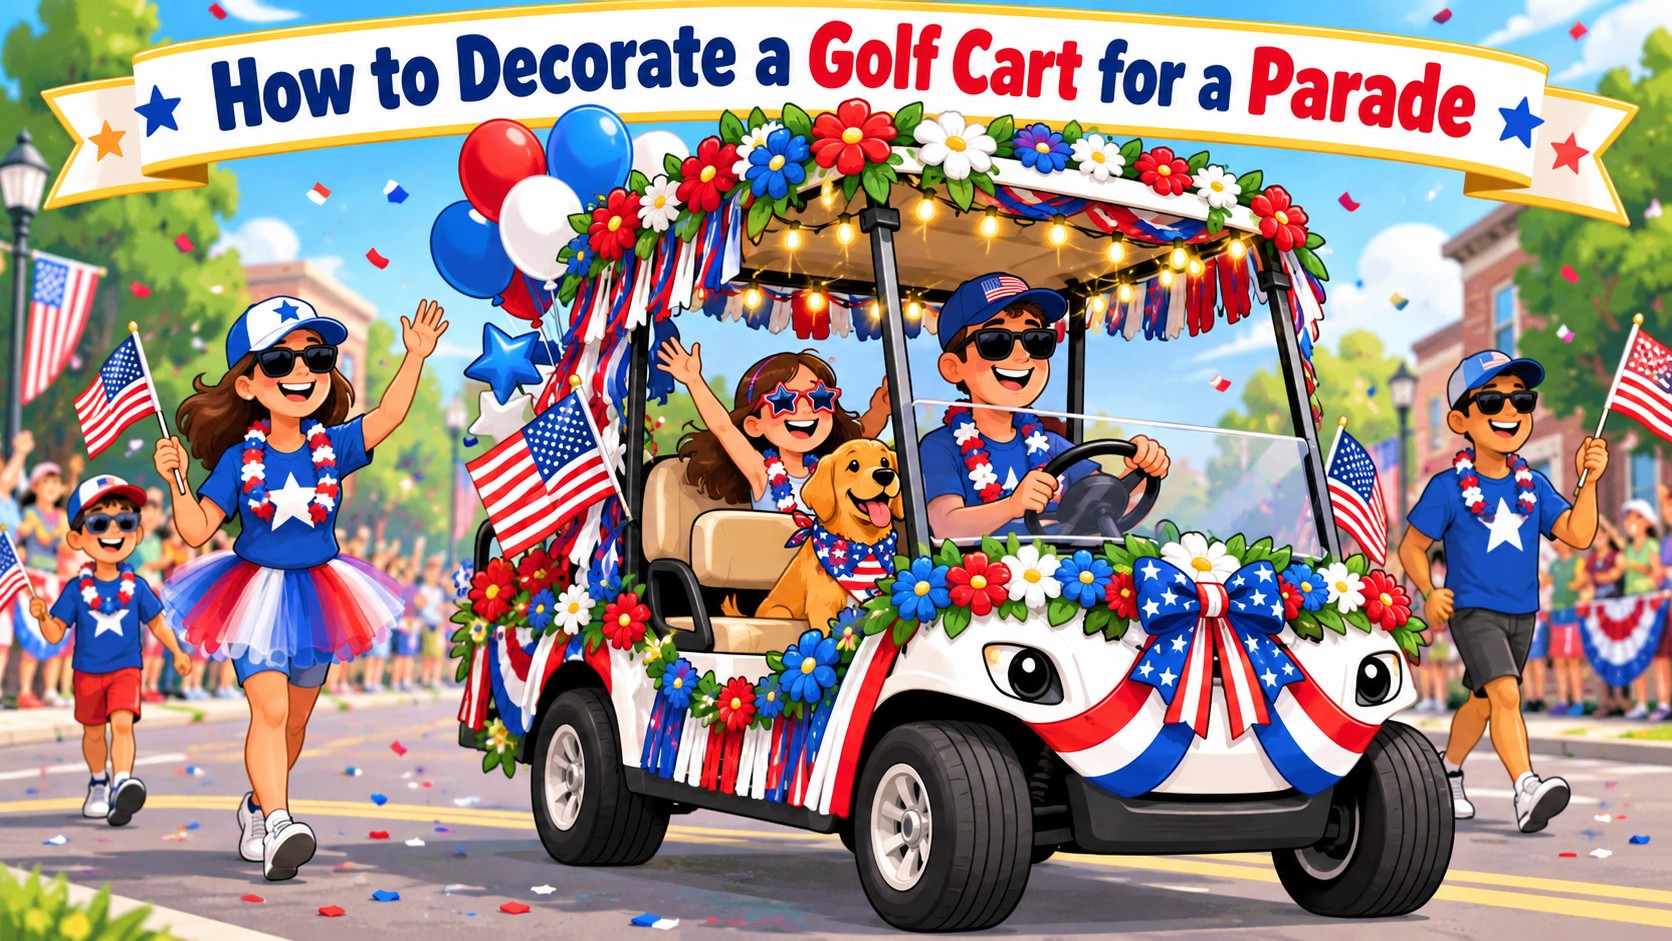
Start by washing and drying the golf cart, then select one strong visual theme. Use zip ties, twist ties, bungee cords, removable clips, and lightweight materials to decorate the roof, pillars, and side panels. Keep the windshield, mirrors, steering wheel, pedals, lights, wheels, and driver visibility completely clear, and always perform a slow test drive before entering the parade.
A parade-ready golf cart can become one of the most eye-catching vehicles in the lineup with a little planning. Whether you are decorating for Independence Day, Christmas, Halloween, a school event, a community celebration, or a tropical-themed parade, the best results come from combining a recognizable theme with lightweight materials and secure attachment methods.
What Are Some Good Decorations for a Golf Cart Parade?
The best decorations are colorful, lightweight, easy to attach, and visible from a distance. They should also be secure enough to handle slow driving, wind, turns, and occasional bumps.
| Decoration | Best Location | Why It Works |
|---|---|---|
| Streamers | Roof supports and side rails | Lightweight, inexpensive, and available in many colors |
| Garland | Roof edges and pillars | Creates a strong themed outline |
| Foam-Board Signs | Side panels | Excellent for names, slogans, numbers, or team messages |
| Fabric | Roof pillars and body panels | Adds large areas of color without much weight |
| LED String Lights | Roof supports and body perimeter | Makes the cart more visible during evening events |
| Flags | Rear supports or approved mounting points | Good for patriotic, school, or community themes |
| Artificial Flowers | Roofline and side panels | Perfect for tropical, spring, or festival themes |
| Lightweight Props | Rear seat area or roof rack | Adds character when securely mounted |
Step 1: Prep and Plan
Clean the Surface
Before adding decorations, wash your golf cart and dry it thoroughly. Dust, wax residue, water, and dirt can prevent temporary fasteners from holding properly.
Pay particular attention to roof supports, side panels, seat backs, and other areas where decorations may be attached.
Pick One Bold Theme
A clear theme usually looks better than a mixture of unrelated decorations. Choose a concept that people can recognize immediately.
Popular golf cart parade themes include:
- Patriotic red, white, and blue
- Christmas or winter holiday
- Halloween
- Tropical beach party
- Sports team
- School colors
- Western theme
- Movie or cartoon theme
- Flowers and garden theme
- Birthday or anniversary celebration
Choose two or three main colors and repeat them throughout the design. This makes the cart look organized rather than crowded.
Keep the Driver Area Clear
The most important rule is that decorations must not interfere with safe operation.
Never block:
- The windshield
- Side mirrors
- Rearview mirrors
- Steering wheel
- Brake or accelerator pedals
- Headlights
- Brake lights
- Turn signals
- Wheels or tires
Decorations should never hang near the wheels, steering system, pedals, electrical connections, or driver’s line of sight. If the driver has to move a decoration to see clearly, the decoration should be relocated.
Step 2: Choose Safe Fasteners
How you attach decorations is just as important as what you use.
Zip Ties and Twist Ties
Plastic zip ties are excellent for attaching garland, fabric, lightweight signs, and LED lights to roof supports or frame members. Twist ties work well for lighter decorative materials.
Trim excess zip-tie ends so they do not create sharp edges.
Bungee Cords
Bungee cords can secure larger lightweight props to a rear platform or approved cargo area. Make sure each hook is firmly attached and cannot release during movement.
Plastic Light Clips
Outdoor gutter clips or similar removable plastic clips are useful for hanging battery-powered lights and garlands along a roof edge without using permanent adhesives.
Avoid Aggressive Adhesives
Strong duct tape, construction adhesive, hot glue, or industrial adhesive can damage paint, plastic trim, vinyl, or clear surfaces.
Whenever possible, attach decorations to structural supports rather than painted body panels.
Step 3: Decorate the Main Areas
Roof and Pillars
The roofline is one of the most visible areas of a parade golf cart. Wrap vertical roof supports with ribbon, fabric, colored paper, or artificial greenery.
Garland or fringe can run along the roof perimeter. Keep everything tightly secured so it cannot fall into the driver’s face or become tangled in nearby objects.
Side Panels
Side panels are ideal for signs, names, slogans, event numbers, or themed artwork.
Foam board is particularly useful because it is lightweight and easy to cut. A large sign can communicate your theme more clearly than dozens of small decorations.
Front of the Cart
Use lightweight ribbons, bows, or a small sign around the front bodywork, but keep airflow openings, headlights, steering components, and wheels clear.
Avoid placing large decorations on the windshield.
Rear Area
The rear can support banners, artificial flowers, lightweight props, or themed displays. Make sure nothing extends low enough to drag on the road.
Step 4: Add Battery-Powered Lighting
Battery-powered LED string lights are one of the easiest ways to make a parade cart look more impressive.
LED lights work especially well for Christmas events, evening parades, patriotic displays, or nighttime community celebrations.
Good locations include:
- Around roof supports
- Along the roof edge
- Around the rear frame
- Around lightweight signs
- Along side rails
Battery-operated decorative lights are often simpler than modifying the cart’s electrical system. Do not splice decorative lights directly into vehicle wiring unless the installation is performed correctly for that specific vehicle.
Step 5: Coordinate Passenger Costumes
A parade cart looks much more complete when passengers match the theme.
For example, a tropical cart could feature floral shirts and leis, while a holiday cart could include Santa hats and matching sweaters.
| Theme | Cart Decorations | Passenger Outfit |
|---|---|---|
| Patriotic | Flags, stars, red-white-blue streamers | Matching patriotic shirts and hats |
| Christmas | Garland, ornaments, LED lights | Santa hats or holiday sweaters |
| Tropical | Flowers, palm leaves, bright colors | Hawaiian shirts and leis |
| Sports | Team colors, banners, mascot graphics | Team jerseys |
| Halloween | Spider webs, pumpkins, orange lights | Costumes matching the theme |
Step 6: Do a Test Drive
Never wait until the parade begins to discover that a banner is dragging or a streamer is hitting a tire.
After decorating, drive slowly around a driveway, parking lot, or other safe private area.
Check whether:
- The driver can see clearly in every direction.
- The steering wheel moves freely.
- Pedals remain unobstructed.
- Decorations stay away from all four wheels.
- Signs remain firmly attached.
- Lights and electrical accessories remain secure.
- Props do not shift during turns.
- Nothing drags underneath the cart.
Stop after several turns and inspect every fastener again.
How Can You Make a Golf Cart Parade Decoration Look Professional?
A professional-looking design usually relies on consistency rather than sheer quantity.
Use a limited color palette, create one large focal point, repeat the same materials on both sides of the cart, and keep signs easy to read. Avoid covering every available surface.
Modern electric carts also provide a clean foundation for creative parade designs. If you use a golf cart with a large roof, open side structure, passenger seating, and storage areas, these features can provide practical mounting locations for lightweight decorations without interfering with driving controls.
What Should You Avoid When Decorating a Golf Cart?
Avoid decorations that create unnecessary safety problems, including:
- Heavy objects mounted on the roof
- Long streamers near wheels
- Decorations covering headlights or brake lights
- Loose electrical wiring
- Sharp metal fasteners
- Large windshield signs
- Unsecured inflatables
- Highly flammable materials near electrical components
- Props extending far beyond the sides of the cart
Keep the decorations lightweight, colorful, symmetrical, and securely attached. The driver should have full control and visibility, while passengers should remain properly seated whenever the golf cart is moving.
Conclusion
Decorating a golf cart for a parade can be simple, creative, and inexpensive when you start with a clear theme and use safe materials. Clean the cart first, select lightweight decorations, secure everything with removable fasteners, and keep the driver’s controls and visibility completely unobstructed.
Use roof pillars, side panels, and rear storage areas for decorations, add battery-powered LED lights for extra visual impact, and coordinate passenger costumes with the overall theme. Most importantly, perform a slow test drive before the event and inspect every attachment.
With careful planning, your golf cart can become an attractive parade display while remaining comfortable, organized, and safe to operate.
