How to Install and Remove Roof Racks on Your Golf Cart

How to Install and Remove Roof Racks on Your Golf Cart

Installing and removing a roof rack on your golf cart is simple when you follow clear, step-by-step instructions for safety, stability, and long-term use.

Can a Roof Rack Be Installed on a Golf Cart?

Yes, you can install a roof rack on most modern carts, and many owners choose to do it themselves. A properly installed rack lets you carry coolers, bags, fishing gear, or small cargo securely on top of your golf cart, freeing up passenger space and improving comfort. However, it is important to follow the rack manufacturer’s instructions and your cart’s guidelines so you do not overload the roof or damage the frame.

The basic process is straightforward: clean the roof, measure and mark bracket locations, attach the mounting brackets to the roof supports or frame, install the crossbars, then test stability. Removal is simply the reverse. With basic tools and some patience, most owners can complete the job in an afternoon.

Before You Begin: Check Compatibility and Gather Tools

Before touching any hardware, spend a few minutes getting familiar with your cart and the roof rack kit you plan to use. This preparation step helps you avoid drilling in the wrong place or overtightening bolts.

  • Check your cart manual: Look for information on roof load limits, recommended attachment points, and any warnings about drilling or modifying the roof supports.
  • Confirm rack compatibility: Choose a rack designed for carts or one that clearly lists compatibility with roof struts and dimensions similar to your model.
  • Gather basic tools: A socket set, screwdrivers, measuring tape, marker, and a small level are usually enough. Some systems recommend a torque wrench to avoid overtightening bolts.
  • Work on a level surface: Park your cart on flat ground, engage the brake, and switch off the power before you start measuring or drilling.

Step-by-Step: Installing a Roof Rack on Your Golf Cart

While details vary by brand, most rack systems follow a similar installation sequence. Always keep the kit instructions nearby and refer to them as you work.

1. Clean and Inspect the Roof

Begin by washing and drying the roof and roof supports. Dirt or sand trapped under brackets can scratch surfaces and make it harder for mounting pads to sit flat. Check the roof struts and frame for cracks, rust, or damage; any weak points should be repaired before you bolt on extra weight.

2. Measure and Mark Bracket Positions

Use a measuring tape to determine where the front and rear brackets will sit. Most systems recommend placing crossbars at specific distances from the front and rear edges to balance weight and reduce wind noise.

  • Measure from fixed reference points, like the front roof edge or main roof support posts.
  • Use a marker or masking tape to lightly mark bracket centers on both sides.
  • Check that the marks are symmetrical left to right so the crossbars sit square.

3. Attach Mounting Brackets to Roof Supports

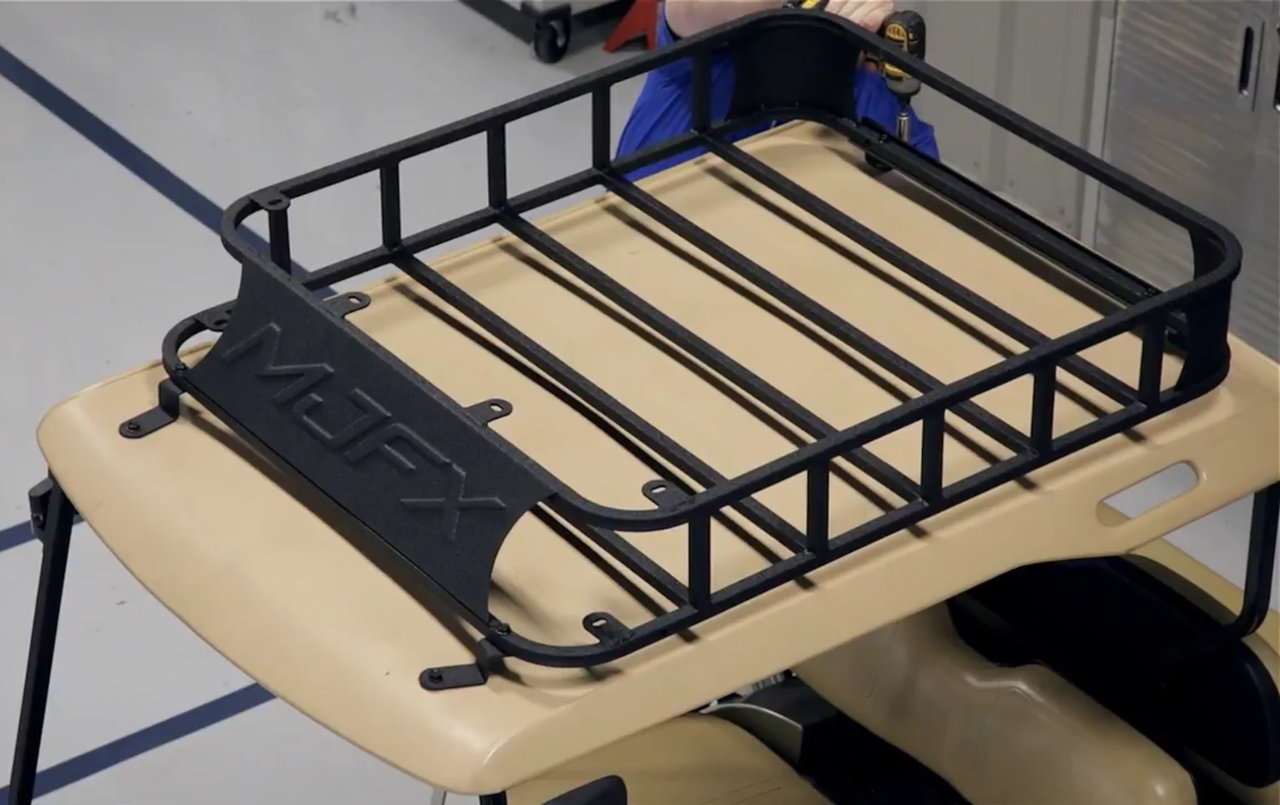
Next, secure the mounting brackets to the roof’s support struts or frame using the hardware included with your rack kit.

  • Hold each bracket in place on the marked location and loosely install bolts or clamps.
  • If drilling is required, follow the rack instructions carefully and avoid wiring or hidden components.
  • Use the level to keep the brackets aligned across the cart so the crossbars will sit flat.

Do not fully tighten hardware yet—leave a little room for adjustment when you install the crossbars.

4. Install and Align the Crossbars

Slide the crossbars into the brackets or attach them according to the rack design.

  • Center each crossbar so equal length extends on both sides of the cart.
  • Check spacing between the front and rear crossbars to match the manufacturer’s recommendation.
  • Make sure the crossbars run parallel to each other and perpendicular to the direction of travel.

5. Tighten and Test the Roof Rack

Once everything is aligned, tighten all bolts and clamps securely. If torque values are specified, use a torque wrench to avoid under- or overtightening.

  • Gently shake the rack front to back and side to side; it should not wobble or slide.
  • Recheck all fasteners after your first short drive with a light load to confirm nothing has loosened.

Removing a Roof Rack from Your Golf Cart

Removing the rack is essentially the reverse of installation and is often faster, especially once you know how the system is put together.

  1. Unload the rack: Take off all bags, boxes and accessories so the crossbars are empty.
  2. Remove crossbars: Loosen the clamps or bolts holding the crossbars in place and lift them out of the brackets.
  3. Unbolt brackets: Carefully unscrew the mounting brackets from the roof supports or frame. Keep hardware in a labeled bag if you plan to reinstall later.
  4. Clean the roof: Wipe away any marks, dust, or adhesive residue left by rubber pads or protective tape.

If the rack will be off for an extended period, store all parts in a dry place together with the manual so you can easily reinstall when needed.

Safety, Loading Tips and When to Get Help

A roof rack changes how you load and drive your cart, so a few extra precautions are important.

  • Respect weight limits: Never exceed the load rating of the rack or the roof of your cart. Overloading can bend supports or affect stability.
  • Secure cargo properly: Use straps or netting to tie down coolers, bags and gear so nothing shifts or falls while driving.
  • Check clearance: A loaded rack adds height. Be mindful of low branches, ceilings and garage doors.
  • Inspect regularly: Periodically recheck bolts, clamps and crossbars, especially if you drive on bumpy paths.

If your rack requires complex drilling, custom brackets, or you are not comfortable working around the roof structure, it is wise to seek professional help. An experienced technician can make sure your roof rack is installed safely and that your golf cart frame is protected from unnecessary stress.

With the right rack, careful installation and smart loading habits, your cart’s roof can become a practical, reliable cargo platform that makes every trip more convenient.

Leave a Reply

tara golf cars, tara electric golf cars, tara golf fleet, best golf car, fleet cars, 2025, club car, ezgo, yamaha, alternatives, golf courses, golf club,
[newsletter_form]