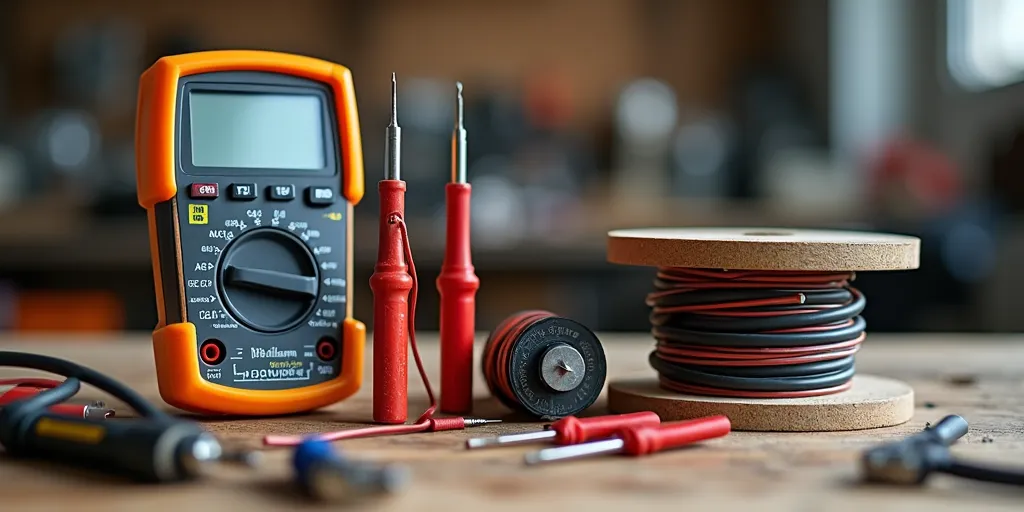
How to safely work on a golf cart electrical system

How to Safely Work on a Golf Cart Electrical System

Before you touch a cart’s wiring, isolate power, protect yourself, and control the workspace—smart prep prevents shocks, shorts, and expensive component damage.

Working on the electrical system of modern golf carts is straightforward when you follow a disciplined safety process. The golden rule is to de-energize and verify: disconnect the main negative battery cable, place the Tow/Run switch in Tow, and confirm zero voltage at the circuit you intend to service. Combine that with the right protective gear, good ventilation, and careful wiring practices, and you’ll avoid accidental shorts, arc flashes, and controller damage.

Core Safety Actions (Do These First Every Time)

  • Key off, charger unplugged: Remove the key and ensure no external charger is connected.
  • Set Tow/Run to Tow: This disables the control system and prevents unintended activation.
  • Disconnect the main negative battery cable: Breaks the circuit so tools or loose leads can’t complete it accidentally.
  • Wait 5–10 minutes: Allow capacitors in controllers and converters to discharge before touching connectors.
  • Verify with a meter: Confirm the circuit is at or near 0 V before proceeding.

What precautions should be taken before working on a golf cart electrical system?

Wear protective gear:

Use safety glasses, insulated gloves, and closed-toe shoes. Remove rings, watches, and bracelets that can bridge terminals. If you’ll be near batteries, keep baking soda/water on hand to neutralize acid residue and use a face shield for aggressive cleaning.

Park on a level surface:

Stabilize the cart on flat ground, apply the parking brake, and chock the wheels. You don’t want a jolt or roll just as you’re loosening a terminal or routing a cable.

Ventilate the area:

Work in a well-ventilated space away from sparks or open flames. Charging batteries can emit hydrogen gas; good airflow reduces ignition risk and disperses fumes.

Step-By-Step Safe Work Procedure

  1. Prepare the workspace: Clear clutter, lay down a non-conductive mat, stage tools, and set your multimeter to the appropriate DC range.
  2. Isolate power: Key off → Tow/Run to Tow → unplug charger → disconnect main negative cable (tape the loose end so it can’t touch metal).
  3. Label and document: Take photos of wiring before you disconnect anything; use tags on harnesses to simplify reassembly.
  4. Use insulated tools: Prefer tools with vinyl grips; never place tools across two terminals. One hand at a time when possible to reduce shock paths.
  5. Route wiring correctly: Keep looms away from steering linkages, brake cables, sharp edges, and heat sources. Use grommets where wires pass through metal.
  6. Fuse every add-on: Place the fuse close to the power source. Size it to wire gauge and device draw (never oversize “just in case”).
  7. Use proper connectors: Crimp with the right die, then heat-shrink. A dab of dielectric grease helps seal out moisture on low-voltage connections.
  8. Re-energize safely: Reconnect the main negative last, switch back to Run, and power up while watching for abnormal heat, odor, or noise.

Best Practices for Common Tasks

  • Accessory power: On multi-battery packs, use a voltage reducer (e.g., 36/48→12 V) so loads draw evenly from the entire pack, not a subset of batteries.
  • Grounding: Tie returns to the designated negative bus; avoid random chassis points that introduce noise or corrosion issues.
  • Cable care: Keep battery cables clean and tight. Corrosion raises resistance, creating heat and voltage drop under load.
  • Moisture protection: Use loom and drip loops; avoid pointing open connectors upward where water can collect.

Common Mistakes to Avoid

  • Skipping isolation: Working “live” risks short circuits and controller damage.
  • Incorrect fuse sizing: Oversized fuses won’t protect the wire; undersized fuses nuisance-blow and invite unsafe “temporary” fixes.
  • Poor wire routing: Draping wires over moving parts leads to chafing and intermittent faults.
  • Mismatched connectors: Twisted bare copper under a nut is not a terminal—use proper lugs and torque to spec.

Why is it important to disconnect the battery before starting electrical work on a golf cart?

Because it eliminates the energy source. With the main negative cable removed and the system in Tow, you break the circuit so a dropped wrench or stray wire can’t complete it and cause an arc, melted insulation, or fire. It also protects sensitive electronics—controllers, solenoids, and converters—from voltage spikes and back-feed. Finally, it prevents unintended motion; a live circuit can energize a contactor or motor if a switch is bumped or a wire shorts, creating a serious injury risk.

Post-Work Checkout

  1. Visual pass: Confirm no tools, loose nuts, or wire scraps remain in the battery bay or under the seat.
  2. Torque & polarity: Recheck terminal tightness and verify positive/negative orientation on any changed connections.
  3. Function test: Key on, gentle throttle, lights/accessories one at a time; feel for heat at new connections after 3–5 minutes under load.
  4. Log the work: Note dates, components changed, fuse sizes, and wire routes to speed future troubleshooting.

Quick Safety Checklist

  • Key off → Tow/Run to Tow → disconnect main negative cable
  • Glasses, insulated gloves, no jewelry
  • Level ground, brake set, wheels chocked
  • Ventilated area; no sparks/open flames
  • Verify 0 V before touching conductors
  • Fuse close to source; correct wire gauge

With deliberate isolation, the right PPE, and disciplined wiring habits, you’ll service electrical systems confidently and keep components—and people—safe. Treat every step as a checklist item, and your results will be clean, reliable, and repeatable.

Leave a Reply

tara golf cars, tara electric golf cars, tara golf fleet, best golf car, fleet cars, 2025, club car, ezgo, yamaha, alternatives, golf courses, golf club,
[newsletter_form]