Mount the bar, route a fused harness to a dash switch, and add a voltage reducer on 36/48-V packs—your LED upgrade is clean, bright, and battery-friendly.
Adding an LED light bar is one of the most useful upgrades you can make to a cart used for dawn patrol tee times, twilight practice, or campground cruising. The process is straightforward: mount the light bar securely, route a harness to a power source and switch, and protect your electrical system with proper fusing (and a voltage reducer on multi-battery packs). This step-by-step guide explains the materials you need, where to mount for best visibility, and how to wire the bar so it’s reliable and easy to service—whether you’re maintaining one cart or a fleet of golf carts.
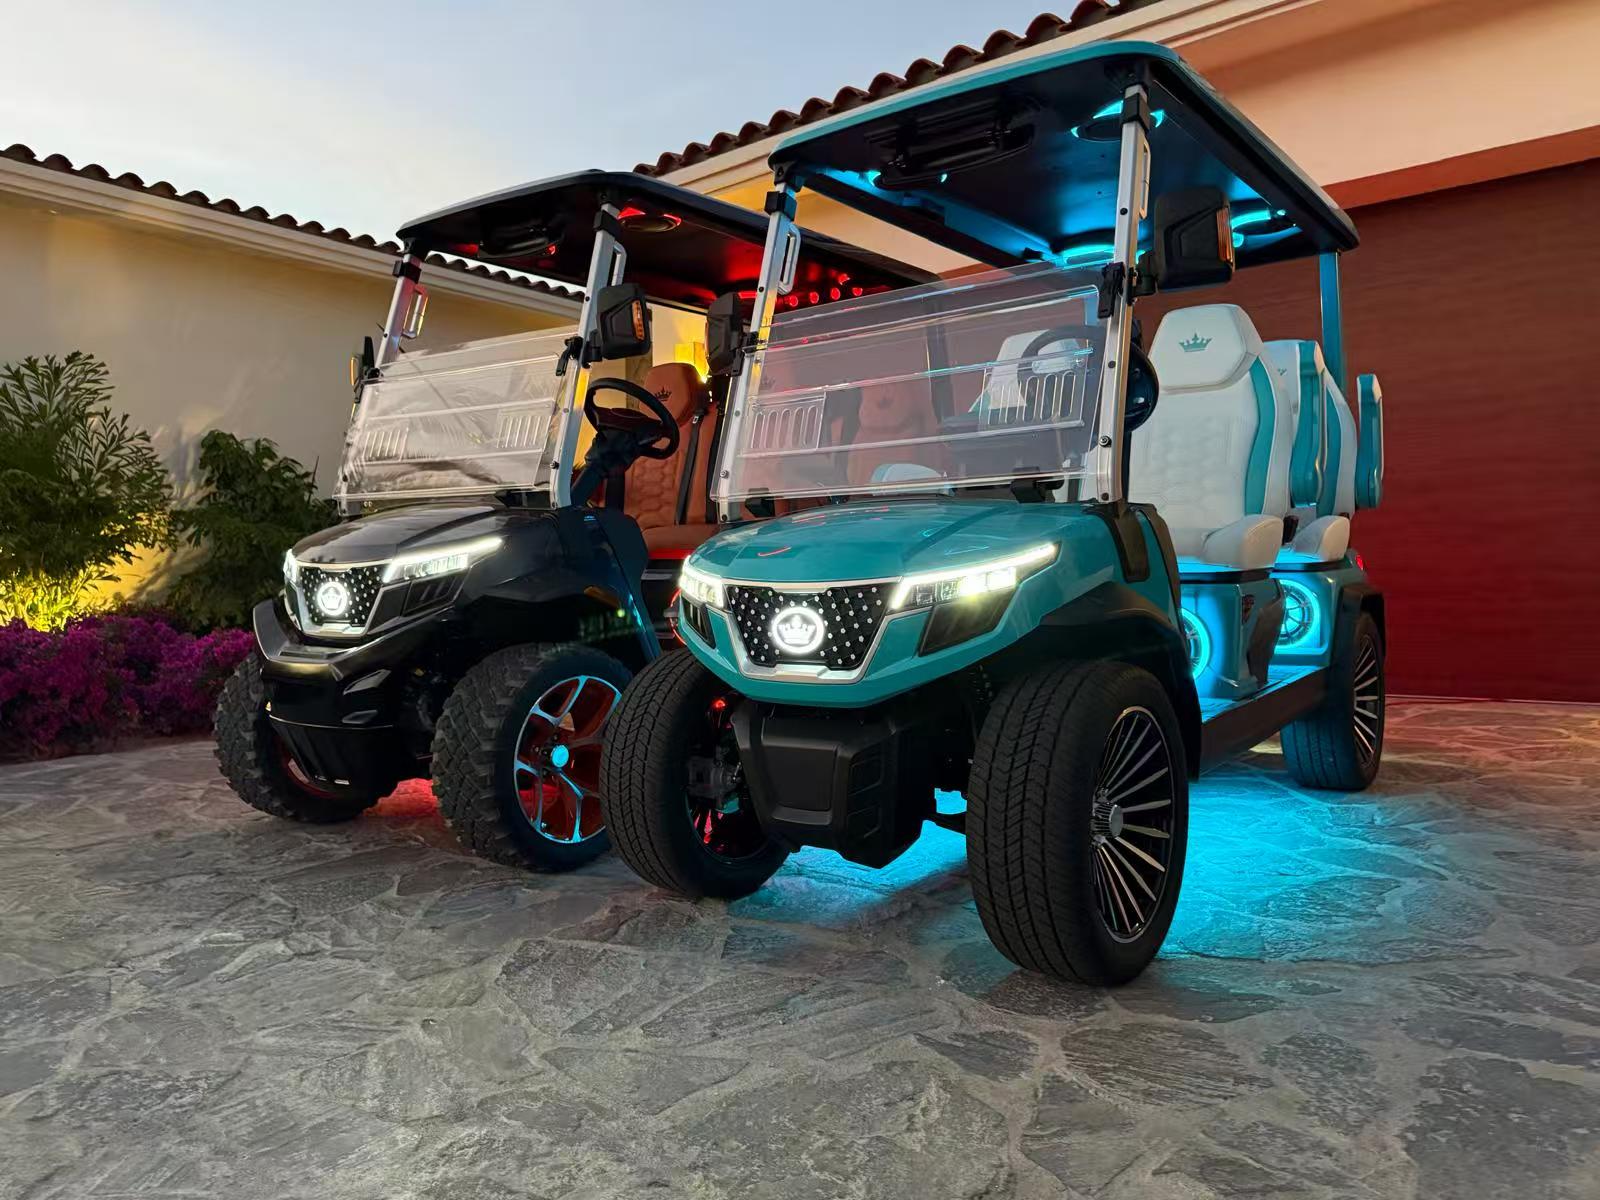
For most builds, the roof front edge delivers the best blend of downrange illumination and peripheral spill. Aim the bar slightly downward (≈2–3°) to avoid dazzling oncoming users and to improve contrast on fairways, paths, and cart lanes.
Important: If your cart runs a 36 V or 48 V battery pack, do not power the bar from two or three batteries in the series. Use a 12 V voltage reducer rated for the bar’s current draw (add 30–40% headroom) to protect both the accessory and the pack from imbalance.
| Typical 12 V wiring (with relay) |
|
A clean LED light bar install comes down to solid mounting, protected wiring, and a correctly sized reducer, fuse, and relay. Follow the steps above and you’ll gain reliable illumination, easier dusk driving, and a setup that’s simple to service as your needs evolve—all while protecting your cart’s electrical system and battery pack for the long haul.
