Cracked cart panels are fixable—identify the plastic, stop-drill, V-groove, bond or weld, then sand, prime, and refinish for a lasting repair.
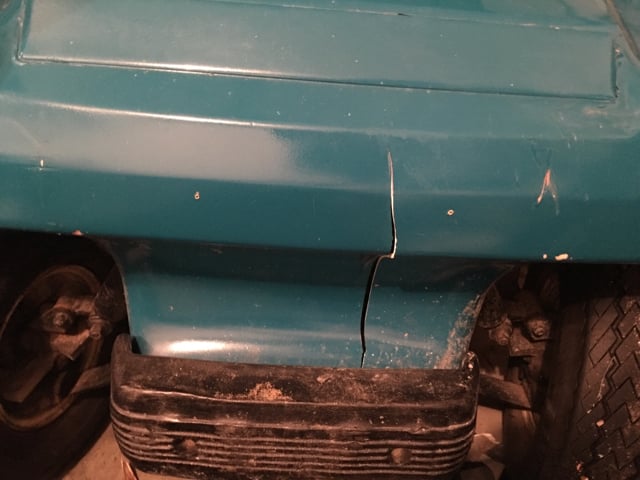
Body cracks on a golf cart may look terminal, but most can be repaired cleanly with the right products and a careful workflow. The key is matching the repair method to the panel material (ABS, TPO/PP, or fiberglass), preparing the surfaces properly, and reinforcing the crack so it won’t creep. Below you’ll find the materials to gather and a step-by-step process to restore structure and appearance—without recurring splits.
Look for ID marks on the backside: ABS, PP/TPO, or FRP (fiberglass). Pick the repair chemistry to match. ABS bonds well with epoxies; PP/TPO often needs welding or a plastic-specific adhesive with adhesion promoter; fiberglass uses resin and cloth.
Use a rotary burr to open a shallow V along the crack on the face side—just deep enough to expose fresh material without thinning the panel excessively. Lightly scuff the back side 2–3" around the crack for adhesion.
Tape the face side closed to maintain alignment. On the back side, apply a release layer (wax paper) to a temporary backing strip and clamp it against the crack for support while bonding/welding.
Reattach hardware with correct torque and fresh clips as needed. Verify panel gaps, fastener security, and that no wiring or edges are rubbing.
Hairline or medium cracks and broken tabs are great candidates for repair. Replace panels that are severely shattered, missing large sections, or warped. If the cart is frequently used on rough paths, reinforcing the back side with mesh or cloth is worth the extra time.
A durable crack repair follows a simple formula: identify the substrate, stop-drill and V-groove, bond or weld with the right chemistry, reinforce the back side, then finish with proper primer and paint. Take your time with cleanliness and sanding, and the repair will disappear to the eye—and, more importantly, stand up to vibration and daily use.
