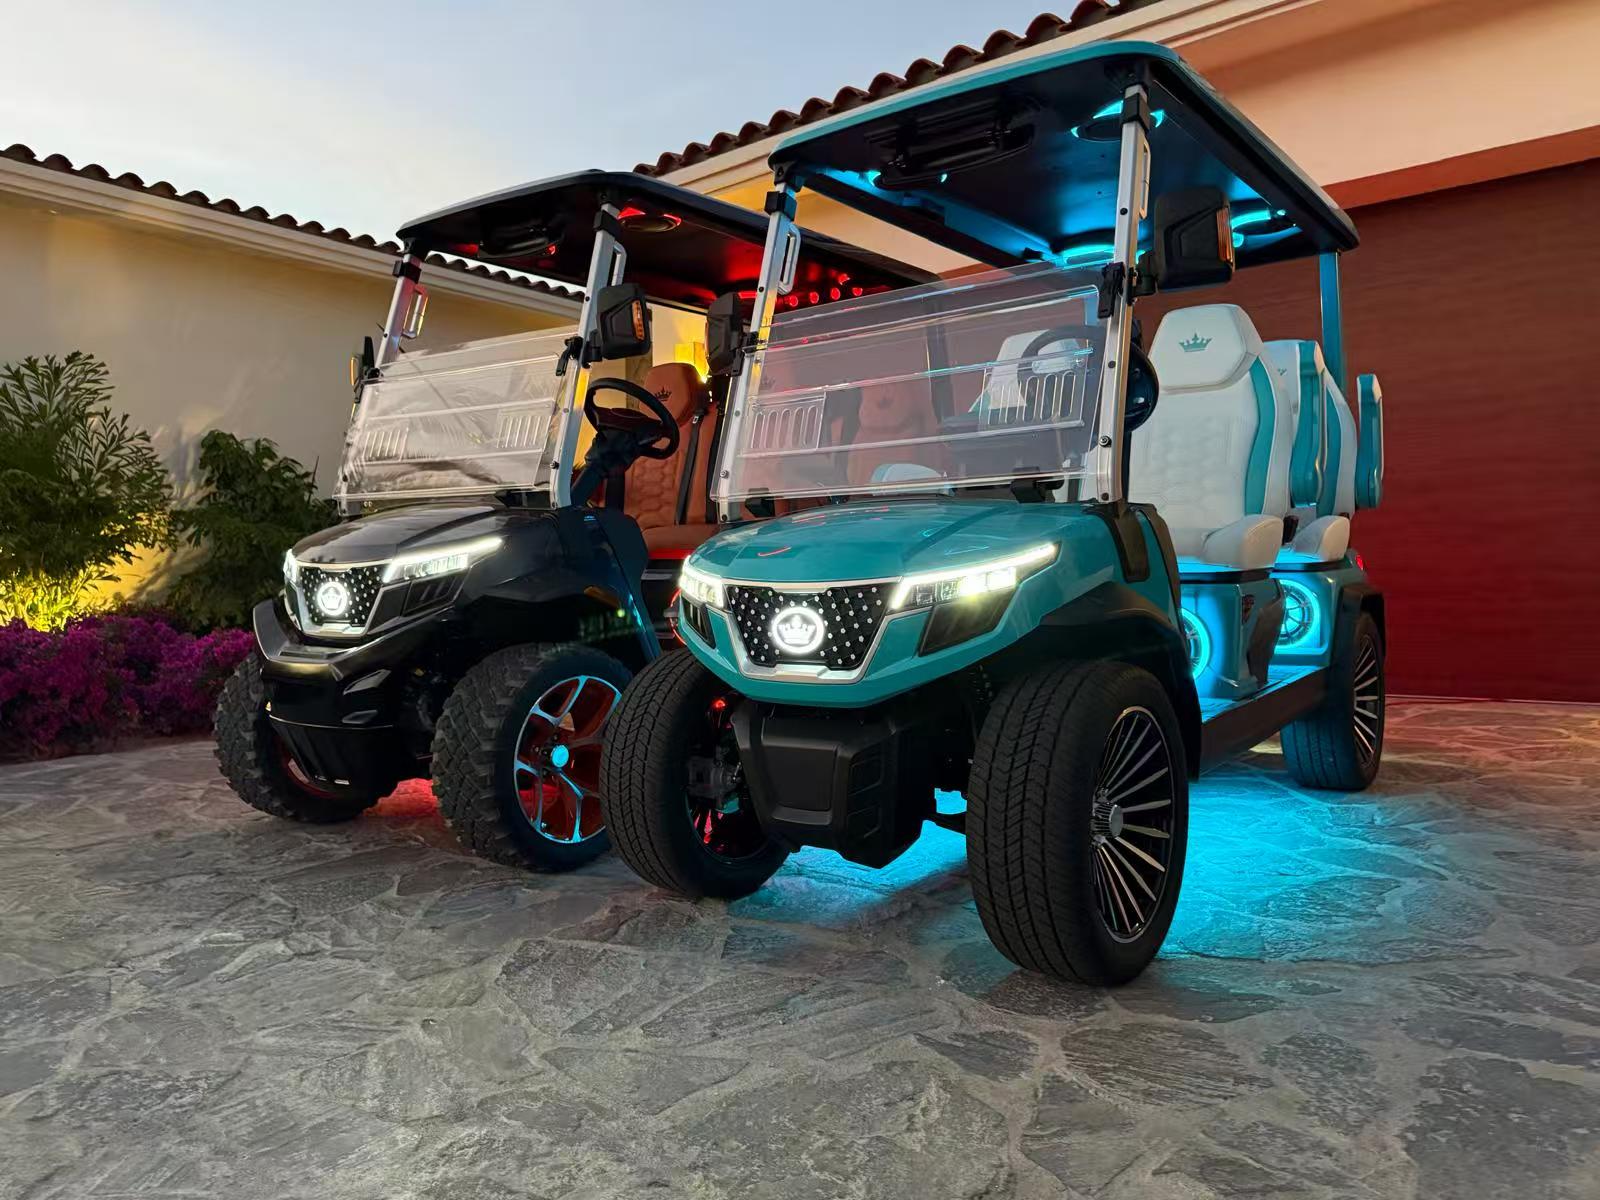
How do you install an led light bar on a golf cart

How to Install an LED Light Bar on a Golf Cart: Tools, Mounting, Wiring & Safety

Mount the bar, route a fused harness to a dash switch, and add a voltage reducer on 36/48-V packs—your LED upgrade is clean, bright, and battery-friendly.

Adding an LED light bar is one of the most useful upgrades you can make to a cart used for dawn patrol tee times, twilight practice, or campground cruising. The process is straightforward: mount the light bar securely, route a harness to a power source and switch, and protect your electrical system with proper fusing (and a voltage reducer on multi-battery packs). This step-by-step guide explains the materials you need, where to mount for best visibility, and how to wire the bar so it’s reliable and easy to service—whether you’re maintaining one cart or a fleet of golf carts.

What materials and tools are needed to install an LED light bar on a golf cart?

  • LED light bar kit (with mounting brackets, hardware, and weatherproof pigtails)
  • 12 V power source (direct 12 V battery, dedicated accessory battery, or a 36/48→12 V voltage reducer)
  • Wiring harness with in-line fuse (or a relay + fused feed if building your own)
  • On/Off switch (dash or column mount; weatherproof preferred)
  • Ring/Spade terminals, heat-shrink, and loom for clean, protected connections
  • Fasteners (stainless bolts, nylock nuts, washers) and threadlocker
  • Tools: socket set, wrenches, drill + bits, crimper/stripper, multimeter, zip ties
  • Sealants (dielectric grease for connectors; silicone for pass-throughs)
  • Personal safety: gloves, safety glasses

Where is the best location to mount an LED light bar on a golf cart for optimal visibility?

  • Roof front edge: Highest, widest beam with minimal glare on the hood. Use backing plates to spread load on the canopy.
  • Brush guard/bumper: Easiest wiring, less wind noise, great for near-field light; slightly lower throw distance than roof.
  • Under-roof centerline: Protected from branches and rain; keep the bar set slightly forward to reduce windshield reflections.

For most builds, the roof front edge delivers the best blend of downrange illumination and peripheral spill. Aim the bar slightly downward (≈2–3°) to avoid dazzling oncoming users and to improve contrast on fairways, paths, and cart lanes.

Mount the light bar

  1. Plan the layout: Choose a straight mounting surface with clearance for the brackets, wire exit, and tilt adjustment.
  2. Mark & drill: Use the bracket slots as a template; drill pilot holes and, for canopy installs, add backing plates or fender washers underneath.
  3. Secure hardware: Install stainless bolts with nylock nuts. Leave the pivots slightly loose so you can fine-tune aim during testing.

Wire the light bar

Important: If your cart runs a 36 V or 48 V battery pack, do not power the bar from two or three batteries in the series. Use a 12 V voltage reducer rated for the bar’s current draw (add 30–40% headroom) to protect both the accessory and the pack from imbalance.

Typical 12 V wiring (with relay)
  1. Battery/Reducer + → Fuse (near source) → Relay pin 30
  2. Relay pin 87 → Light bar + (red)
  3. Light bar – (black) → Chassis/negative bus
  4. Switch + feed → Relay pin 86 (through ignition-controlled accessory feed if desired)
  5. Relay pin 85 → Ground
  1. Mount the reducer (if used): In a ventilated spot away from battery fumes; follow the reducer manual for pack +/– connections.
  2. Route the harness: Follow OEM loom paths along roof struts or frame rails. Use split loom and zip ties every 20–30 cm; avoid sharp edges and moving parts.
  3. Install the switch: Choose a reachable, protected location on the dash; drill the correct cutout; label it “LIGHT BAR”.
  4. Make connections: Crimp and heat-shrink terminals; apply dielectric grease to keep moisture out; secure all grounds to a clean, bare metal point or the negative bus.

Finalize and test

  1. Fuse check: Size the fuse to the bar’s spec (e.g., 10–15 A for many 120–180 W bars at 12 V). Never oversize the fuse.
  2. Polarity test: Verify 12–13 V at the light connector with a multimeter before plugging in.
  3. Aim the beam: At dusk, set a target 25–30 m ahead. Tilt so the hotspot lands below eye level to minimize glare; tighten pivots with threadlocker.
  4. Rattle check: Drive a short loop over bumps and re-check hardware and wire restraints.

Why use a voltage reducer or fused/relay system?

  • Pack health: A reducer draws evenly from the entire 36/48 V pack, preventing cell imbalance and premature aging.
  • Circuit safety: A relay handles higher current away from the dash switch and short, thin conductors.
  • Serviceability: Proper fusing localizes faults and simplifies troubleshooting in the future.

Quick troubleshooting

  • Light won’t turn on: Check the fuse, verify reducer output (≈12 V), confirm switch and relay grounds.
  • Flicker at idle: Loose ground or undersized wiring. Re-crimp, shorten long runs, or upgrade wire gauge.
  • Radio noise: Add a ferrite choke to the light’s positive lead and confirm the reducer is a clean DC model.
  • Moisture in lens: Replace or warranty the bar; avoid pressure-washing directly at seals.

Best practices

  • Use marine-grade heat-shrink connectors and UV-resistant loom.
  • Keep harnesses away from steering columns, suspension travel, and hot charger components.
  • Label the fuse and relay for future service; keep a spare fuse in the glove box.
  • Be courteous with high-output bars; dim or switch off when around other players and pedestrians.

Bottom line

A clean LED light bar install comes down to solid mounting, protected wiring, and a correctly sized reducer, fuse, and relay. Follow the steps above and you’ll gain reliable illumination, easier dusk driving, and a setup that’s simple to service as your needs evolve—all while protecting your cart’s electrical system and battery pack for the long haul.

Leave a Reply

tara golf cars, tara electric golf cars, tara golf fleet, best golf car, fleet cars, 2025, club car, ezgo, yamaha, alternatives, golf courses, golf club,
[newsletter_form]