DIY Golf Cart Wrapping

DIY Golf Cart Wrapping: A Practical Guide for Clean Results and Lasting Style

Wrapping your cart at home can refresh the look, protect panels, and express your brand—if you plan well, prep carefully, and apply heat and pressure with patience.

A quality vinyl wrap can make your golf cart look new, shield plastics from scuffs and UV, and let you swap colors or graphics without permanent paint. This guide explains difficulty, preparation, paint-vs-wrap tradeoffs, and realistic costs, plus pro tips to avoid bubbles, seams, and lifting.

How hard is it to wrap a golf cart?

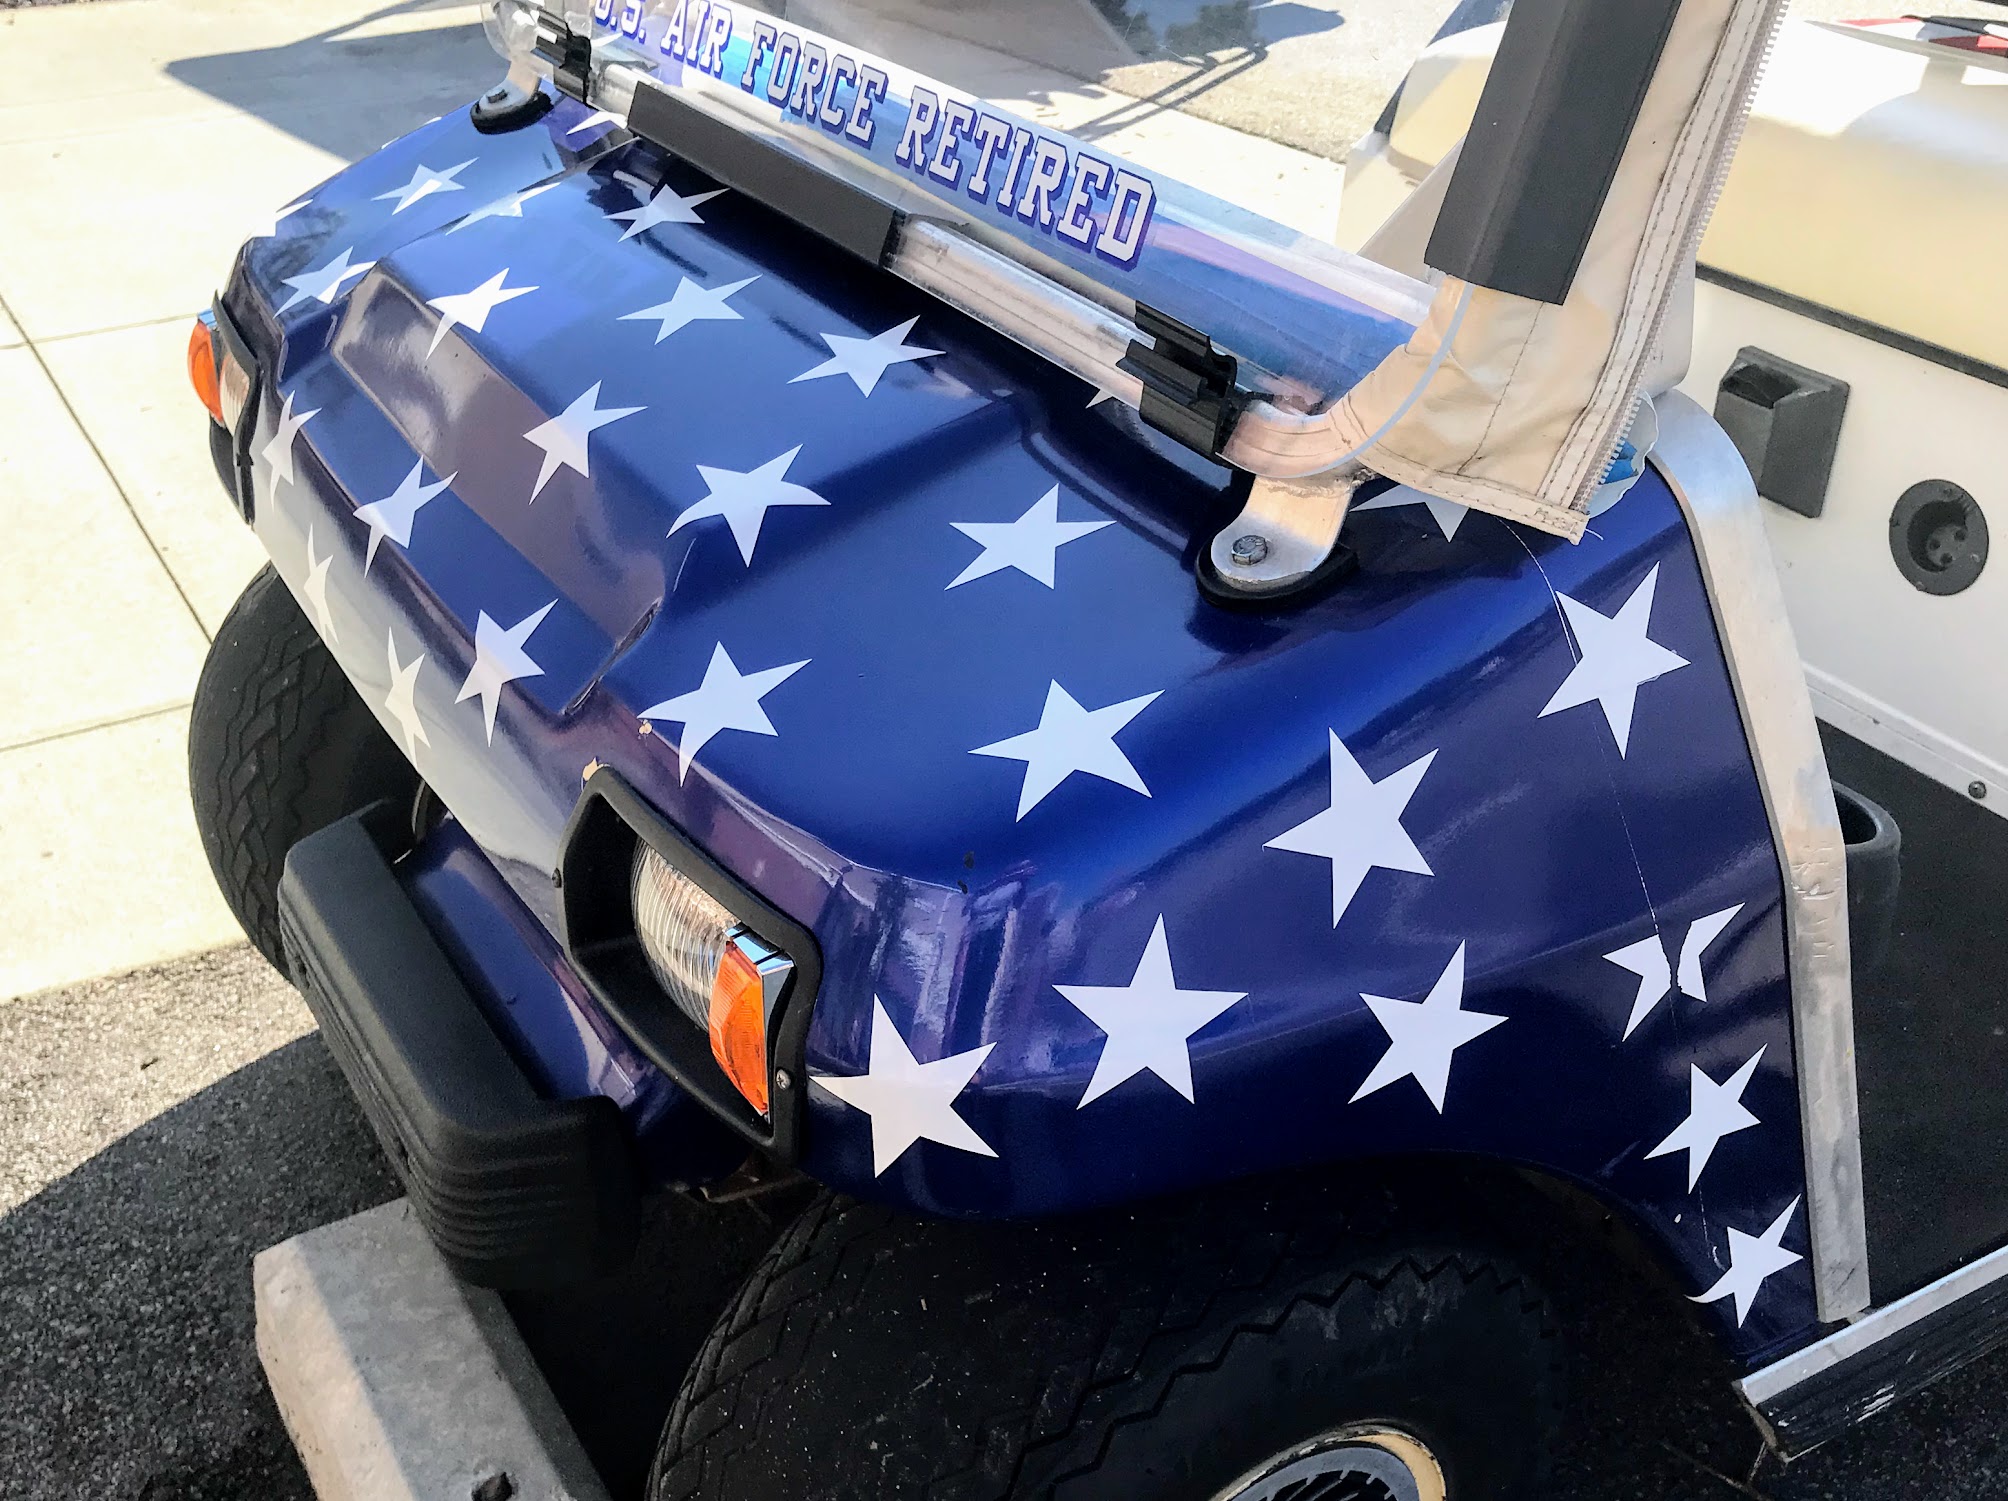
Difficulty is moderate for a patient DIYer. Cart bodies typically have manageable panel sizes and gentle curves, but textured plastics, compound corners, and recessed pockets add complexity. Expect a learning curve with heat control and squeegee technique. If you can apply screen protectors or window film neatly—and you’re comfortable removing trim—you can achieve a tidy wrap by working panel-by-panel, not rushing, and practicing on hidden areas first.

  • Time: 4–10 hours for a partial color change; a full, multi-panel refinish may take a weekend.
  • Skill drivers: Surface prep, seam planning, and managing stretch around curves.
  • When to call a pro: Complex camo patterns, thick textured films, deep recesses, or when the cart must be show-ready on a deadline.

How do you prepare a golf cart for a wrap?

Preparation determines 80% of the outcome. Any residue, silicone, oxidation, or loose edges will prevent adhesion and cause early lifting.

  1. Wash & decontaminate: Rinse, then wash with a wax-free soap. Use isopropyl alcohol (IPA 70%–90%) to remove wax, sunscreen, bug spray, and silicone. Clay bar if panels feel gritty.
  2. Degloss & repair: Lightly scuff glossy ABS with a gray scuff pad (optional) and wipe clean. Sand smooth any nicks; fill deep gouges; let cure fully.
  3. Remove obstacles: Take off badges, mirrors, roof supports (if needed), trim caps, and lights that block edges. Keep hardware labeled.
  4. Measure & template: Measure each panel plus 2–3 inches extra on all sides. Dry-fit paper or masking-tape templates to visualize seams and overlaps.
  5. Set up the bay: Work indoors at 18–24°C (65–75°F). Eliminate dust, add bright lighting, and position carts/stands so panels are waist height.

Is it better to paint or wrap a golf cart?

It depends on goals, budget, and how often you change styles.

  • Wrap advantages: Faster turnaround; reversible; protects OEM surfaces; huge color/finish variety (gloss, satin, matte, carbon, camo, metallic); easy panel replacement after a scuff.
  • Paint advantages: Permanent finish with deep, uniform color; better for heavily textured plastics if you’re willing to sand, prime, and spray properly.
  • Considerations: Wraps prefer smooth, clean plastics; deep textures or chalky oxidation must be corrected. Paint requires controlled spraying conditions and longer cure times.

If you want seasonal themes, sponsor graphics, or quick rebrands, wrapping wins. If you’re restoring a single color to showroom quality for many years, high-quality paint may be worth the added prep and downtime.

What is the average cost to wrap a golf cart?

Costs vary with film type (calendered vs. cast), finish, coverage, and labor.

  • DIY materials: Many carts use roughly 10–20 linear feet of 60" film depending on coverage. Mid-grade films can total roughly $150–$350; premium cast and specialty finishes run higher. Add $40–$100 for tools (squeegees, knifeless tape, heat gun, magnets).
  • Professional install: Simple single-color wraps often fall in the roughly $800–$1,500 range; complex patterns, textured films, or extensive disassembly can exceed that.
  • Partial accents: Rockers, cowl, or dash accents typically cost less; budget a few hundred dollars for quality film and clean edges.

To keep budgets on track, order 10–15% extra film for mistakes and future repairs, and save the lot number in case you need an exact color match later.

Step-by-step: Wrapping workflow

  1. Plan seams: Hide overlaps under trim lines; use knifeless tape for stripes or around contours you don’t want to cut against.
  2. Tack & float: Peel backing gradually; “float” the film with light tension; tack a center line; squeegee outwards in short, overlapping strokes.
  3. Heat & form: Warm only enough to relax memory (40–60°C / 104–140°F). Avoid overstretch; bridge deep recesses and post-heat later.
  4. Edge sealing: Wrap 5–10 mm around panel backs; post-heat edges (90–100°C / 194–212°F) and apply edge sealer where hands or wash brushes contact often.
  5. Post-wrap care: No harsh washing for 48 hours. Hand wash; avoid petroleum cleaners. Inspect edges after the first drive for any lifting and re-seal promptly.

Common mistakes to avoid

  • Skipping decontamination: Invisible silicone or wax causes fish-eyes and lifting—IPA wipe is non-negotiable.
  • Overstretching around corners: Stretch thins color and glue; pre-stretch and relax or use relief cuts where hidden.
  • Cutting on paint/plastic: Use knifeless tape instead of blades at finished edges.
  • Ignoring texture: Heavy texture needs sanding/priming (for paint) or a film designed for textured substrates; otherwise edges won’t stay down.
  • Skipping post-heat: Cast films need heat to reset memory at edges and recesses.

FAQ quick hits

How hard is it to wrap a cart? Moderate—panel sizes are friendly, but corners and recesses test patience. Practice on hidden pieces first.

How do you prepare? Deep clean, decontaminate with IPA, remove trim, measure generously, and work in a clean, climate-controlled bay.

Paint or wrap? Wrap for speed, reversibility, and design flexibility; paint for permanent, long-term color if you’ll invest in prep and curing.

Average cost? DIY materials often a few hundred dollars; pro color changes commonly range into the low four figures depending on complexity.

Final thoughts

A well-planned wrap can transform a cart’s identity in a weekend and protect panels for years. Start with meticulous prep, choose a reputable film, and respect heat and edge work. When you’re ready to refresh graphics or branding again, peel, clean, and repeat—your golf cart can evolve with your style and season.

Leave a Reply

tara golf cars, tara electric golf cars, tara golf fleet, best golf car, fleet cars, 2025, club car, ezgo, yamaha, alternatives, golf courses, golf club,
[newsletter_form]