Electric Golf Cart Light User Guide

Electric Golf Cart Light User Guide: Setup, Operation, Upgrades & Care

Use this quick guide to operate lights on your electric golf cart, read charge indicators, and fix common issues for safe, confident rides in any lighting.

Overview

An electric golf cart light user guide covers how to power on and use the headlight switch, understand charger and battery indicators, and perform basic troubleshooting and maintenance. To operate the system, turn the key to ON and use the dedicated headlight switch—typically a toggle or rotary knob on the dash or steering column—to activate headlights (and, if installed, tail and marker lights). Most carts display battery status on a dash gauge or a separate indicator; a low or flashing red icon usually means it’s time to recharge. If the lights don’t work, inspect the switch, fuses, and wiring first, then contact support if the issue persists.

Why Upgrade the Golf Cart Lighting Kit?

  • Better visibility: High-output LEDs improve forward throw and side fill, helping you read path contours and obstacles at dawn or dusk.
  • Lower power draw: LED kits use much less current than halogens, preserving battery runtime and reducing heat.
  • Long service life: Quality LED modules and drivers can last tens of thousands of hours, minimizing bulb changes.
  • Weather resilience: IP-rated housings and sealed connectors resist moisture ingress during wet conditions.
  • Cleaner beam patterns: Projector-style optics reduce glare and deliver more uniform illumination.
  • Expandable options: Add-on light bars, auxiliary work lights, or accent markers integrate neatly with a proper harness.

Electric Golf Carts Lighting Kits Types

  • Basic LED headlight/taillight kits: Direct replacements for factory lights with plug-and-play harnesses.
  • Deluxe kits: Include headlights, taillights, and supplemental markers—often with a cleaner beam and dimmer control.
  • Light bars (front-mounted): Wide-spread illumination for path-side visibility; ideal for broad, even coverage.
  • Auxiliary work lights: Focused spots or floods for loading areas, bag wells, or maintenance zones.
  • Accent/marker LEDs: Low-draw visibility markers to outline cart edges without overwhelming the main beam.
  • Voltage reducer + relay harness: Converts pack voltage (36/48V) to stable 12V and isolates loads for reliable performance.

Operation

  • Power on: Turn the ignition key to the ON position so the lighting circuit is energized.
  • Locate the switch: Find the headlight switch—commonly on the dash or steering column. It may be a toggle or a pull/push knob.
  • Activate lights: Use the switch to control headlights and, if installed, tail/marker lights. Some kits add a second switch for auxiliary lamps.
  • Beam etiquette: Aim headlights so the beam lights the path without glaring into other users’ eyes, especially in close community settings.
  • Post-ride: Turn lights off before switching the key to OFF to avoid leaving accessories energized.

Battery indicators

  • Battery gauge: A dash bar graph or LED cluster shows approximate state of charge (SoC). Fewer segments or a yellow/red zone indicates a low level.
  • Charging indicators: Many chargers use status LEDs—green for full, amber for charging, red for a fault state (definitions vary by model).
  • Low-battery alerts: A flashing or steady red light typically means charge immediately to prevent deep discharge and shortened pack life.
  • Good practice: After night use, recharge the same day. Keeping packs near moderate SoC improves longevity and readiness.

Troubleshooting and maintenance

  • Check connections: Inspect battery lugs, ground points, and quick-connect plugs. Look for looseness, corrosion (white/green residue), or pulled wires.
  • Inspect fuses: Locate inline or panel fuses for the light circuit and replace any blown units with the same rating.
  • Test the switch: Wiggle or cycle the switch; if lights flicker, the switch or its connector may be failing and need replacement.
  • Verify voltage reducer: On 36/48V systems, ensure the reducer outputs a steady ~12–13V under load; inconsistent voltage can dim or shut lights off.
  • Assess grounds: A poor ground is a common cause of dim or flickering lights—clean, tighten, and protect ground lugs.
  • Clean lenses: Use mild soap and water; avoid harsh solvents that craze plastics. Clouded lenses cut output dramatically.
  • Consult the manual: Wire colors and fuse locations vary; your kit’s diagram will save time and prevent miswiring.
  • Seek professional help: If the circuit repeatedly blows fuses or overheats, have a technician check for shorts or overloading.

Installation & Care Tips (If You’re Upgrading)

  • Plan the harness path: Route away from sharp edges and moving parts; use loom and zip ties every 8–12 inches.
  • Use relays for add-ons: Relays keep high current off the dash switch and reduce voltage drop to lamps.
  • Protect connectors: After cleaning, apply dielectric grease around (not on) metal contacts to deter moisture ingress.
  • Aim correctly: Park 25 feet from a wall and set the cutoff at or slightly below hub height for clear path lighting without glare.
  • Document your work: Label added circuits and store a printed or digital diagram for easy future service.

Quick Reference Checklist

  • Key ON → flip headlight switch → confirm beam and tail illumination.
  • Scan the battery gauge before and after your round; recharge at day’s end.
  • If lights fail: fuse → switch → grounds → reducer output → harness continuity.
  • Clean lenses monthly; re-check aim after rough paths or suspension changes.

Final Takeaway

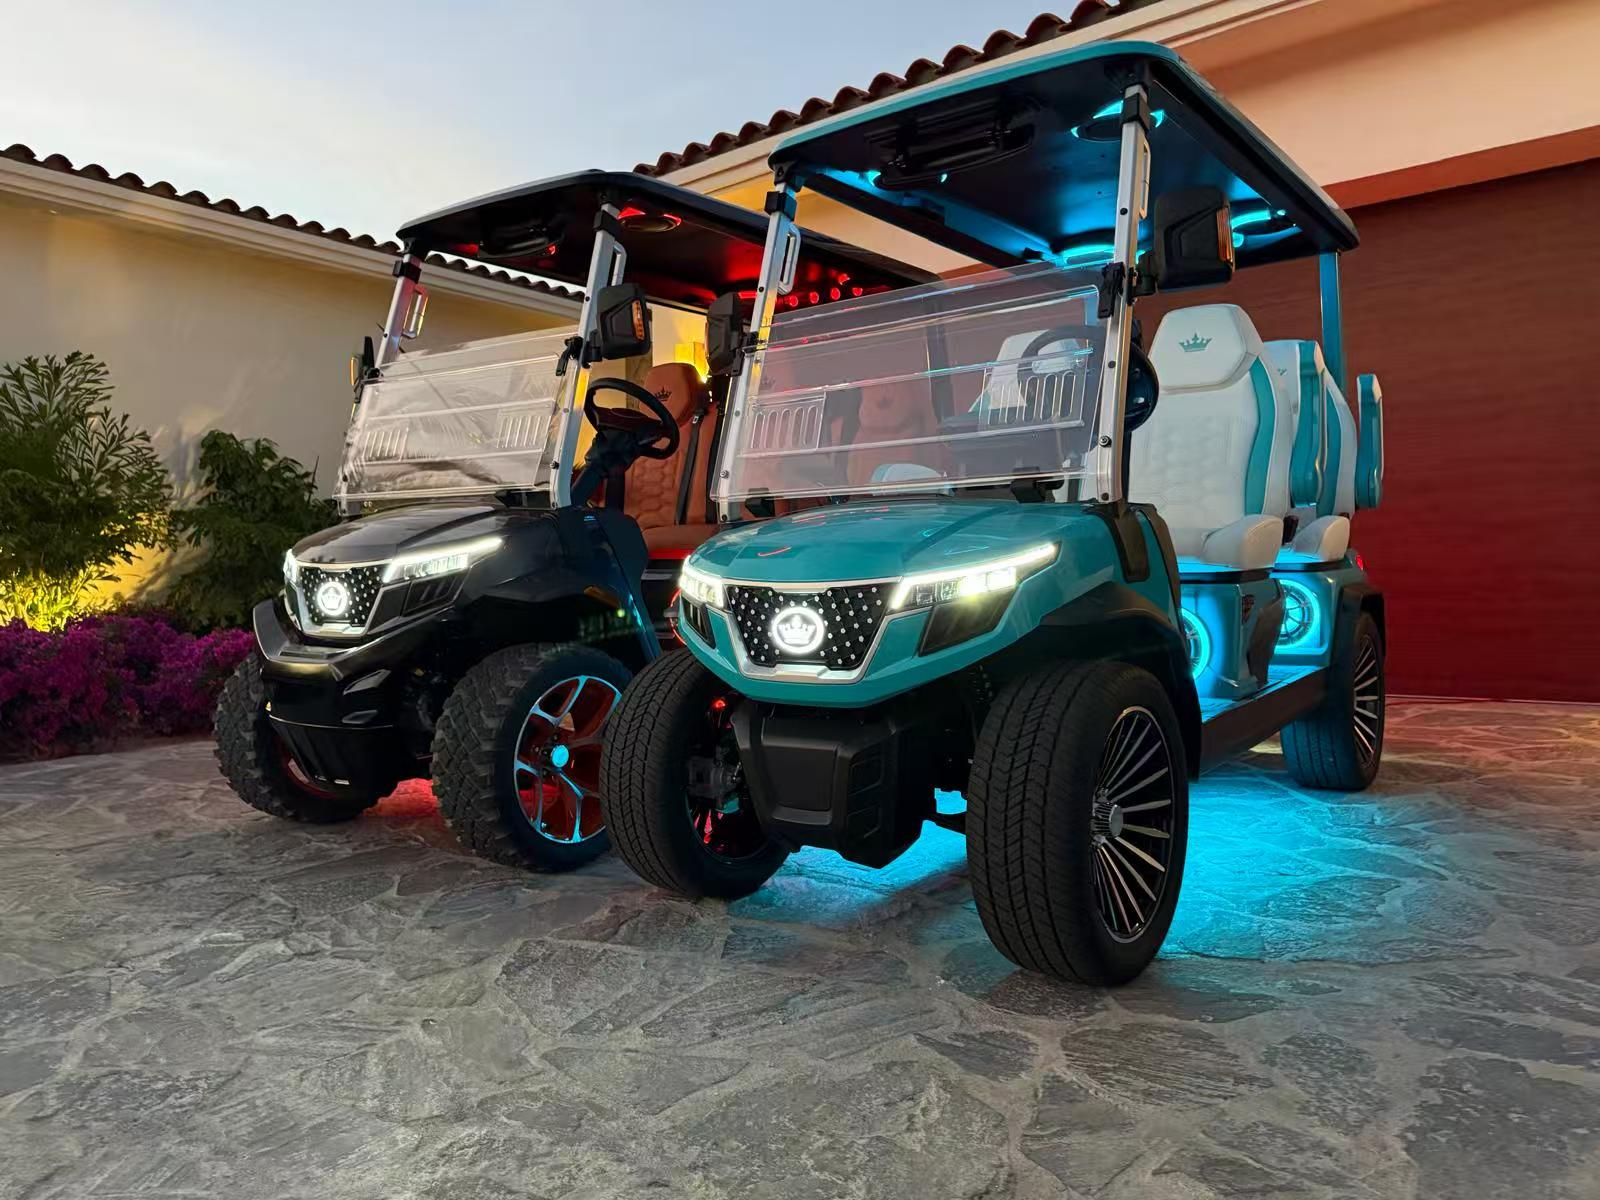
Well-aimed, efficient lighting makes every outing safer and more enjoyable. Operate with a simple routine—key on, switch on, verify charge—and maintain the system with periodic checks of fuses, grounds, and lens clarity. When you’re ready for brighter, longer-lasting illumination, a quality LED kit with a stable 12V supply and clean wiring delivers the biggest upgrade for your electric golf cart.

Leave a Reply

tara golf cars, tara electric golf cars, tara golf fleet, best golf car, fleet cars, 2025, club car, ezgo, yamaha, alternatives, golf courses, golf club,
[newsletter_form]