-
Shopping Tools
-
Care & Maintenance
-
About
-
Dealer Login

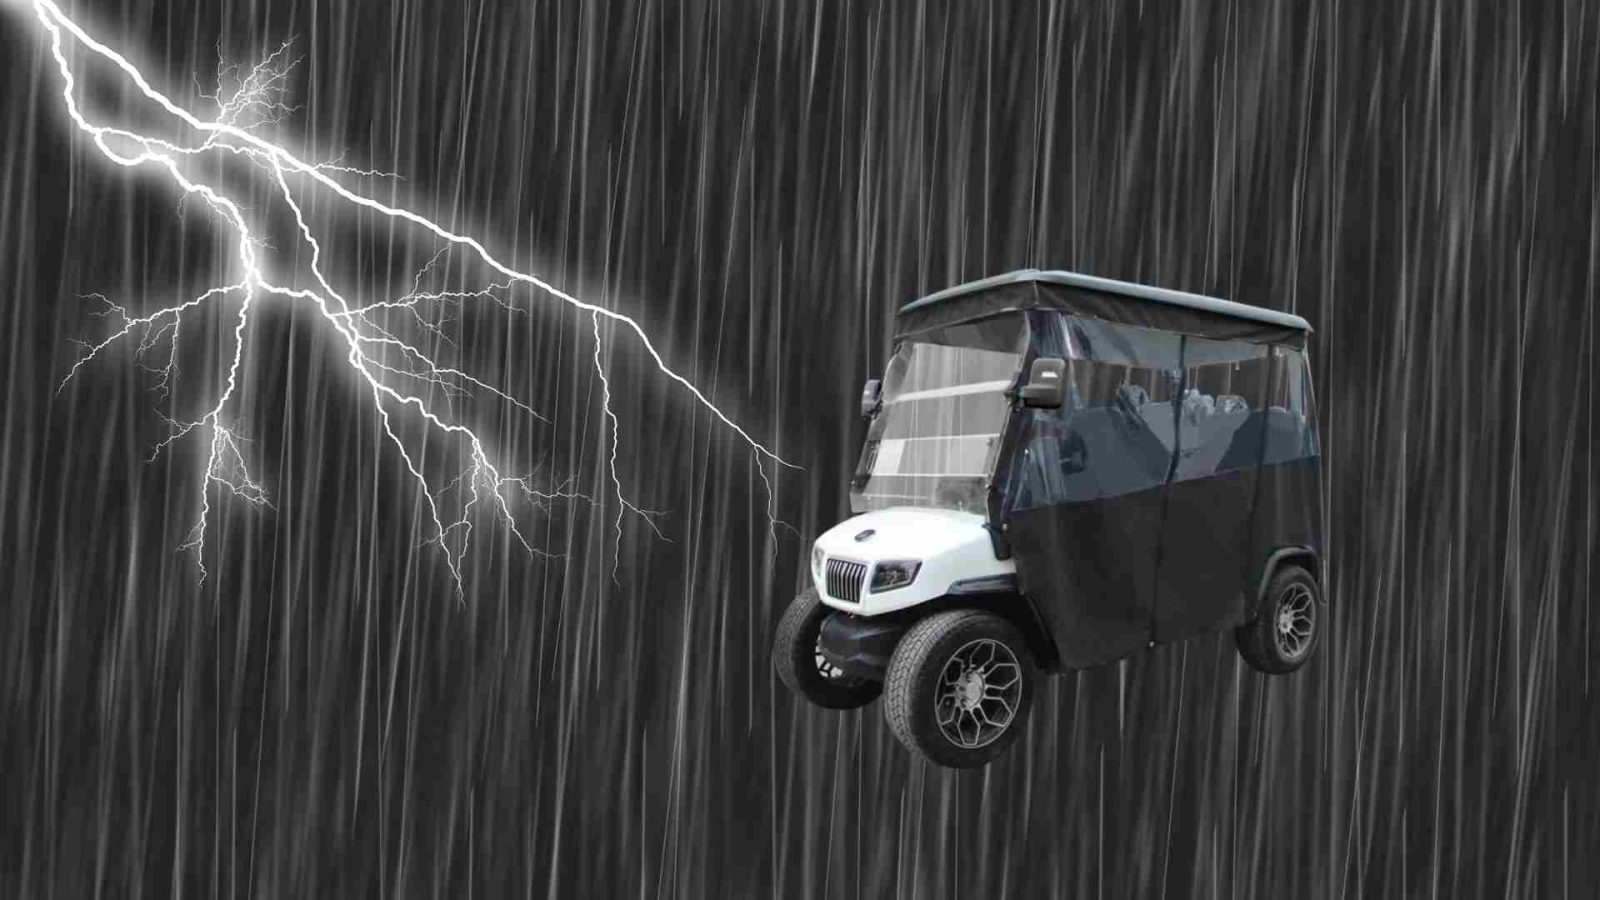
Installing a golf cart enclosure is an easy way to protect your cart from the elements. Whether you're looking to shield your cart from rain, wind, or sun, a golf cart enclosure provides year-round protection. This guide will walk you through the process of installing your enclosure and answer common questions about its value.
A golf cart enclosure is a cover designed to protect the interior of your golf cart from weather conditions. Made from durable materials such as vinyl or polyester, these enclosures provide shelter from rain, snow, wind, and even harsh sun. Installing an enclosure helps keep the cart’s seats, interior, and electrical components in good condition while also enhancing your comfort during your ride.
Golf cart enclosures are definitely worth it, especially if you use your cart regularly or store it outdoors. They offer several advantages:
Installing a golf cart enclosure is simple and can be done in just a few steps. Here’s how to do it:
Start by unboxing the enclosure and laying it out on a clean, flat surface. Many enclosures come with a yellow tag on the front to indicate which side faces the front of the cart. This will help you position the enclosure correctly from the start.
Next, carefully place the enclosure over the roof of the golf cart. Make sure that the front section of the enclosure aligns with the front of the cart. The enclosure should drape evenly over the roof and sides, covering the entire cart. Adjust the fit as necessary, ensuring there are no wrinkles or gaps on the sides.
Once the top is positioned, gently drape the enclosure over the sides of the golf cart. Be sure to smooth out any folds or creases to ensure a snug fit. The side panels of the enclosure should be aligned with the cart’s frame, allowing the enclosure to fit securely over the cart.
Now, begin zipping up the side and rear panels of the enclosure. Most enclosures have zippers along the sides and back that allow you to close them securely. Make sure all the zippers are fully closed, creating a tight seal to keep out wind, rain, and debris. This step is crucial to ensure that the enclosure stays in place during use.
To ensure the enclosure stays securely attached, use the included elastic straps or J-hooks around the bottom edge. These straps are designed to attach to the lower parts of the cart and hold the enclosure in place. Attach the straps to the cart’s frame, adjusting them for a snug fit. Be sure that the straps are tight but not overly stretched, as this could cause damage to the material.
If your golf cart enclosure has doors, make sure to close them securely. Most enclosures come with zippers, snaps, or rip-and-grip straps for this purpose. Close all doors to ensure that no gaps are left open, which could let in rain or wind. Double-check to make sure all zippers and straps are properly fastened before you drive the cart.
Once the enclosure is fully installed, do a quick test by gently pulling on the fabric to make sure it’s securely attached. Walk around the cart to inspect for any loose areas, and adjust the straps or zippers if necessary. Test driving the cart for a short distance can also help you confirm that the enclosure is staying in place and not obstructing any areas of the cart.
To prolong the life of your golf cart enclosure and keep it in top condition, follow these simple maintenance tips:
Installing a golf cart enclosure is a quick and effective way to protect your cart from the elements, enhancing your comfort and prolonging the life of your vehicle. By following the installation steps and maintaining the enclosure, you can ensure that your cart remains in great condition year-round.
